Managing Cloud Data Planes
Introduction
Cloud Data Planes do all the heavy lifting of actually managing your requests: traffic proxying, access control, data transformation, logging and more.Prerequisites
All user roles can edit, deploy, undeploy, restart, redeploy all deployments within a team. Only the Organization Admin and the Team Admin can create or delete deployments.Adding a new Cloud Data Plane
Watch our video on setting up a Control Plane and a Cloud Data Plane.The number of Cloud Data Planes you can add is dependent on your plan
- From the Deployments screen click Add Deployment
- Enter a name for the new Gateway
- Select Cloud Data Plane from the Type drop-down list
- Select the Bundle Channel and Version
- (Optional) Enter a custom domain if required
- (Optional) Enable plugins if required
Edit Cloud Data Planes
You can edit the following Control Plane settings:- Change the Gateway name
- Add a custom domain
- Change the Bundle Channel and Bundle Version
-
Enable plugins
The use of custom domains is dependent on your plan
- On the Deployments screen, expand the Control Plane and click on the Cloud Data Plane to access the Cloud Data Plane overview screen.
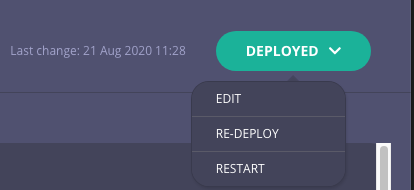
- Select Edit from the Deployed drop-down list
Upgrade Cloud Data Planes
To upgrade an existing Cloud Data Plane:- Go to the Cloud Data Plane settings using the Edit Cloud Data Planes instructions and scroll down to the Version section.
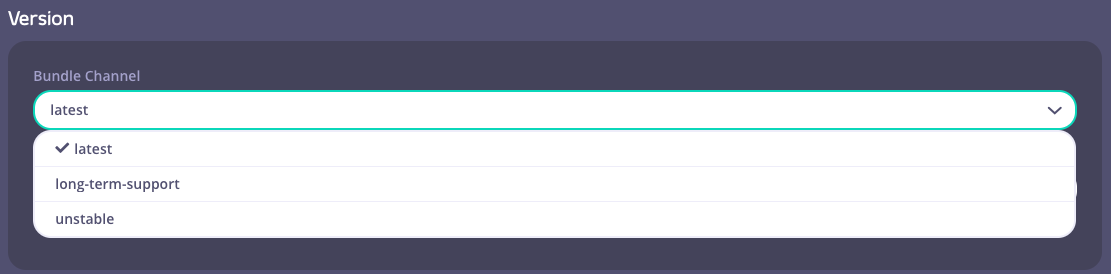
- Select a Bundle Channel.
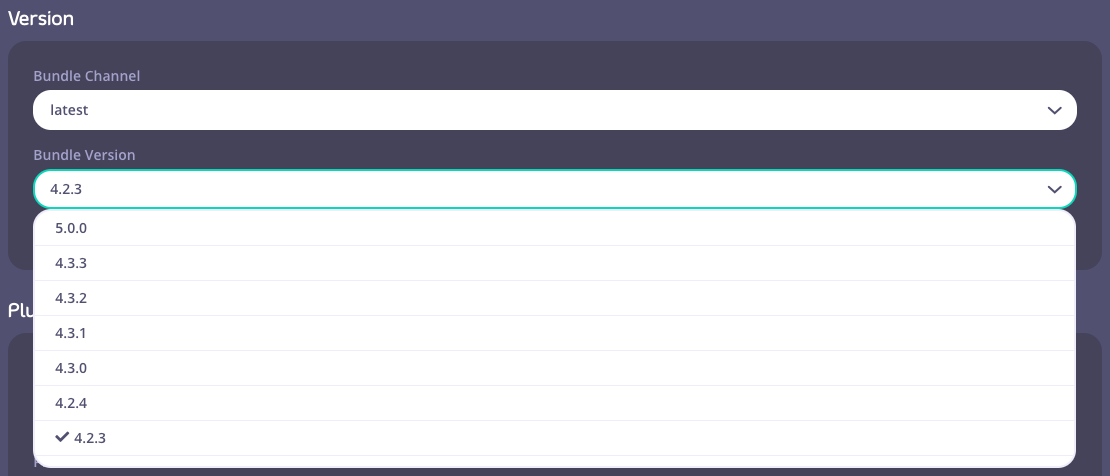
- Next, select a Bundle Version.
- To apply your changes, click the “Save and Re-Deploy” button located at the top right. After a few seconds, you will be redirected to the overview page of the Control Plane and a “Deploying” indicator button will appear.

- A “Deployed” button indicates a successful upgrade.
